Renter-Friendly Upgrades That May Help Protect Your Security Deposit
A rental can work better without becoming a renovation project. Check the lease, get written permission, test removable products, document the original condition, and restore everything before you leave.
Your apartment looks like every other apartment on the block. Beige walls. A chrome dome light in the hallway. Cabinet knobs chosen by someone who hates joy.
And every improvement idea dies at the same question: will this cost me my security deposit?
Here is the short answer: no upgrade can guarantee that a deposit will be returned. Deductions can depend on your lease, written permission, installation or removal damage, required restoration, and local rules. The lower-risk approach is to plan the project and the move-out reversal before you buy anything.
The ground rules (read this before you buy anything)
Reversibility can reduce risk, but “removable” is not a promise that a product will leave every surface unchanged. Use these checks for every project below.
- Document the original condition. Before touching a wall, fixture, floor, or cabinet, take dated wide shots and close-ups of existing marks or damage. Keep them with your move-in inspection record and any messages about the project.
- Get written permission when required or unclear. Read the lease first, then ask the landlord or property manager to approve the specific product and location in writing. Do not assume an adhesive strip or peel-and-stick product is allowed just because the package calls it removable.
- Test removable products first. Apply a small sample in an inconspicuous area and leave it for at least 48 hours, or for the manufacturer’s recommended test period. Remove it slowly and check for lifted paint, residue, discoloration, or finish damage before doing the full project.
- Bag and label every original part. Keep old knobs, the original showerhead, light shades, screws, and other hardware in labeled bags where you can find them on move-out day.
- Plan the restoration now. Confirm what must be removed, repainted, repaired, or reinstalled before you leave. For paint or anything that needs holes, get the approved color and restoration instructions in writing before starting.
Walls: peel-and-stick wallpaper (the big one)
One accent wall changes a room more than any other single project. A roll of peel-and-stick wallpaper runs $30 to $50 and covers roughly 30 square feet, so an 8-by-10-foot accent wall takes about three rolls. Buy one extra for mistakes.
It goes up like a giant sticker. Start at the top, smooth downward with a credit card to push out bubbles, and trim at the baseboard with a utility knife. Budget an hour for your first wall. Your second wall will take 30 minutes.
Removal is where renters can get burned. Follow the product instructions; if they permit heat, warm each section gently with a hair dryer and peel slowly rather than yanking. Even products labeled removable can lift paint or leave residue, especially on textured walls, fresh paint, or inexpensive flat paint. Test a small strip behind furniture first and stop if the finish changes.
Kitchen: the $40 cabinet glow-up
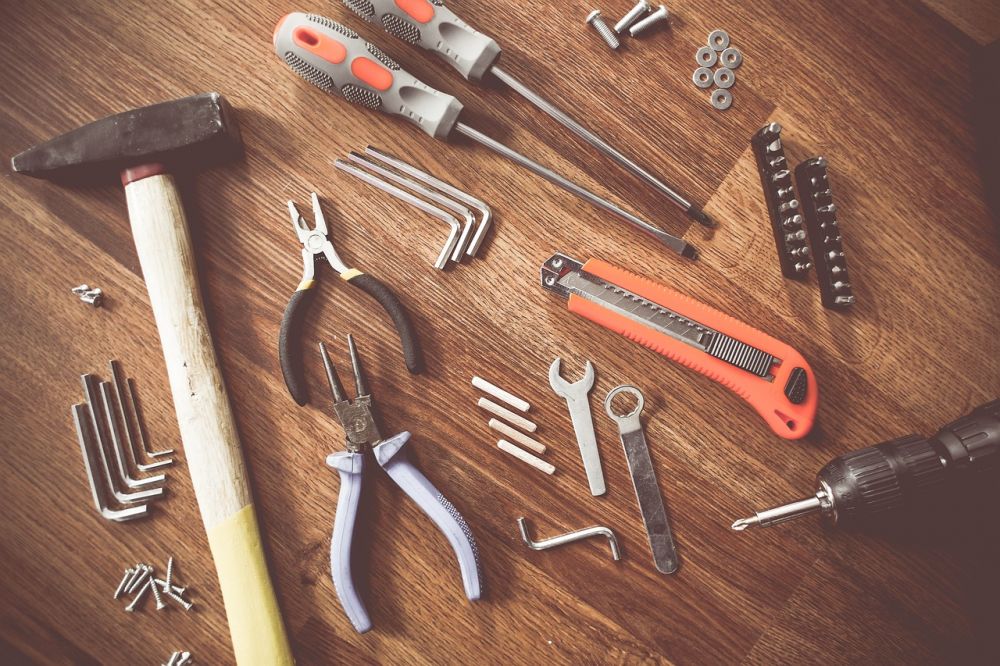
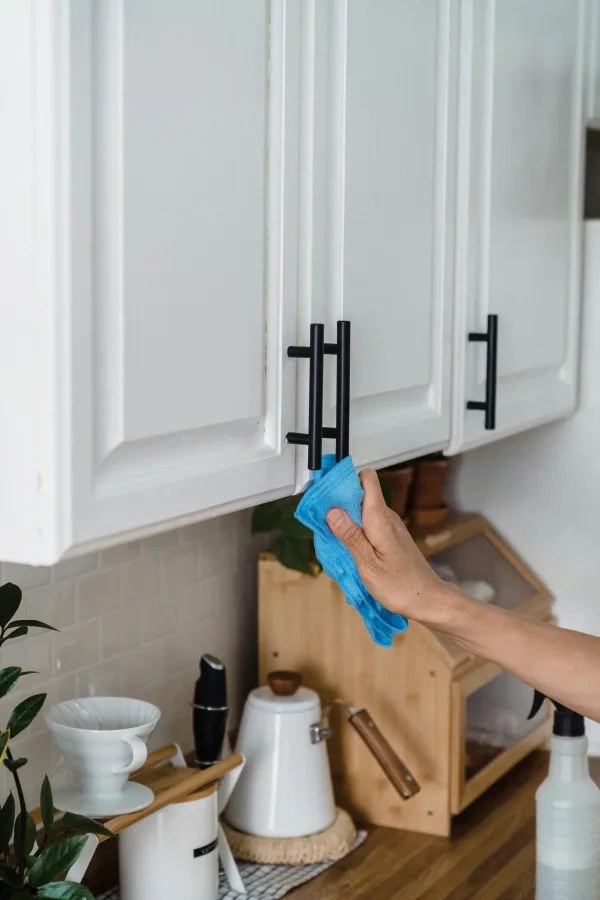
Swap the cabinet hardware. Builder-grade knobs unscrew in seconds with a Phillips head, and a 12-pack of basic knobs or pulls costs $15 to $40. Twelve doors takes about 20 minutes. The visual difference is absurd for the effort, because hardware is jewelry for cabinets and yours is currently wearing the free tote bag.
While you are in there: line the cabinet shelves with peel-and-stick shelf paper, about $8 a roll. It protects the shelves and hides the stains from the previous tenant, which is a kindness to your future self at move-out.
Contact paper on countertops is the one project people underestimate. A $10 roll of thick contact paper, a sharp utility knife, and an hour gets you a countertop that looks like marble from three feet away. It will not fool anyone up close and it will not survive a hot pan. But for a year-long lease, it turns a 1994 laminate counter from eyesore to fine. Cut pieces an inch oversized, lay them starting from one edge, and smooth as you go.
Bathrooms: two five-minute swaps
The showerhead is the highest-satisfaction-per-dollar upgrade in any rental. The original is probably a water-saving model from 2009 that trickles. A decent handheld showerhead costs $20 to $40, unscrews by hand or with one twist of an adjustable wrench, and the new one threads on in five minutes with a $2 roll of Teflon tape on the threads. Put the old one in a labeled bag. On move-out day, thread it back on.
Second: replace the bathroom mirror or add one. A basic 24-by-36-inch mirror is $25 to $40 at any big-box store and hangs on the existing nail or with two Command large picture-hanging strips rated to 16 pounds. A bigger mirror makes a small bathroom feel twice the size and costs less than one month of a gym membership you will not use.
Floors: rugs are your friend
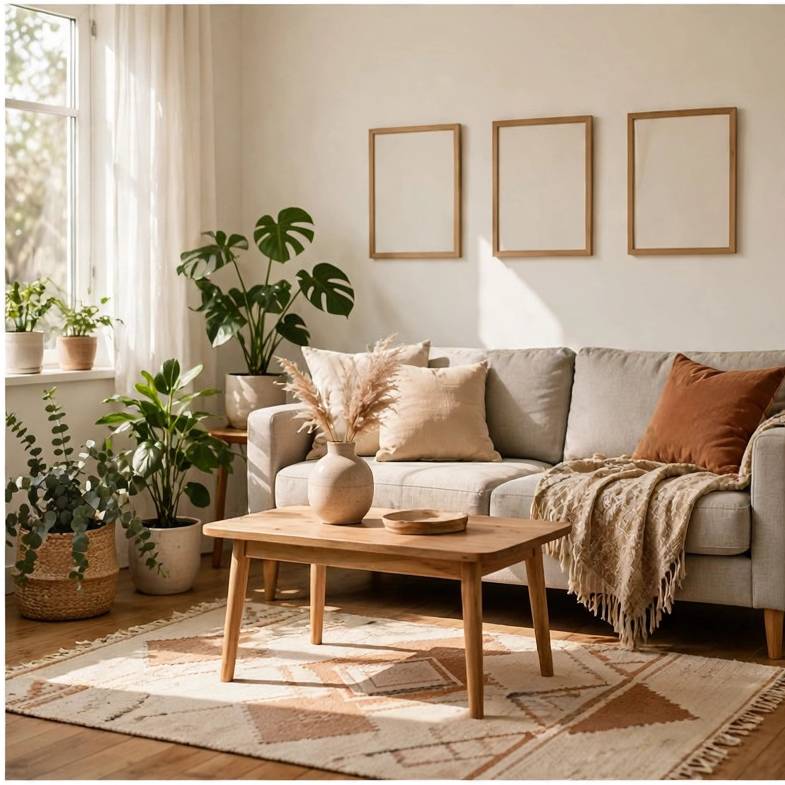
Bad flooring is the one rental problem you cannot fix, so you cover it. A 5-by-7-foot area rug runs $60 to $120 and covers the worst of a stained carpet or cracked vinyl in a living room. In the kitchen and entry, machine-washable runners ($25 to $45) handle the messiest traffic and go straight in the washer, which a carpet never can.
If you are dealing with ugly tile in a bathroom, peel-and-stick vinyl tiles at about $1 to $2 per square foot lay directly over it. A small bathroom floor takes one box, about $30, and an afternoon. They are rated removable, but test one tile for 48 hours before doing the whole floor. And never lay them over carpet, because they will shift and you will cry.
The little stuff that adds up
Curtains on tension rods: $8 to $15 per rod, no drilling, five minutes per window. Curtains make a rental feel like a home faster than anything else, because they soften the exact same windows every unit shares.
Command strips for art: a pack of large strips is $10 and holds up to 16 pounds. Hang actual art, not dorm posters, and the room stops looking temporary. Pull the tab straight down when removing. Do not yank outward. Outward is how paint comes off.
Warm LED bulbs: $8 for a four-pack. Landlords install the cheapest daylight bulbs available, which make every room look like a dentist's office. Swap them for 2700K "warm white" and bag the originals. Two minutes. Massive difference.
Before you move out
Schedule restoration well before the final walkthrough. Remove temporary coverings according to their instructions, reinstall the original showerhead and hardware, clean any residue, and complete any lease-required patching or repainting. If removal starts to damage a surface, stop and ask the property manager how they want it handled.
Take after-restoration photos from the same angles as your original-condition photos, and keep the written approvals with them. Ask for a pre-move-out inspection when one is available so you have time to address concerns. Careful documentation and restoration can help reduce disputes, but they do not guarantee a full refund; deductions still depend on the lease, the property’s condition, and applicable law.