How to Deep-Clean Your Kitchen in One Hour
The trick is not moving faster. It is working in the right order so products have time to work while you do something else.
What a one-hour deep clean can accomplish
An hour is enough to reset the surfaces that collect the most grease, crumbs, splashes, and fingerprints. It is not enough to empty every cabinet, scrub the oven interior, detail refrigerator coils, and wash every shelf. Treat those as separate jobs. A narrow scope keeps the room usable and prevents the familiar halfway point where every counter is covered and nothing is finished.
This sequence works high to low and dry to wet. Dust falls before floors are cleaned, and products get their label-directed contact time while you handle another area. Before starting, read the labels on every cleaner and check the care instructions for stone, wood, stainless steel, painted cabinets, glass cooktops, and flooring. When in doubt, test a hidden spot.
Before the clock: gather a small kit
Bring a trash bag, a basket for misplaced items, clean microfiber cloths, a non-scratch sponge, a small brush, a vacuum or broom, a mop, and only the cleaners approved for your surfaces. Using separate cloths for food-contact surfaces and dirtier areas prevents you from spreading grime. Keep chemicals in their original containers so the directions and warnings remain available.
Put away food before spraying. Move children and pets out of the work zone, secure cords, and keep the floor dry enough to avoid slips. If a product requires a long contact time, build that wait into the plan rather than wiping it away immediately.
Minutes 0–10: clear, sort, and start the soak
Load the dishwasher or place dishes in a soaking basin. Empty the sink, remove countertop clutter, and put misplaced items into the basket instead of walking them to other rooms. Throw away obvious trash and set aside anything that needs a decision after the hour. This creates working space without turning the cleaning session into an organizing project.
Apply a surface-appropriate cleaner to the stovetop and greasy backsplash, avoiding controls, burners, seams, and openings as the appliance instructions require. Let it dwell for the stated time. If the microwave has stuck-on splatter, place a microwave-safe bowl of water inside and heat only if the appliance manual permits that method; otherwise use the recommended cleaner on a cool interior.
Minutes 10–25: work from the highest surfaces down
Use a dry or barely damp cloth to capture dust on the top of the refrigerator, cabinet ledges, light fixtures, and vent exteriors. Do not reach above a live range, remove electrical covers, or climb on a counter. A stable step stool is appropriate only when it gives safe access; otherwise leave the area for another time or a professional.
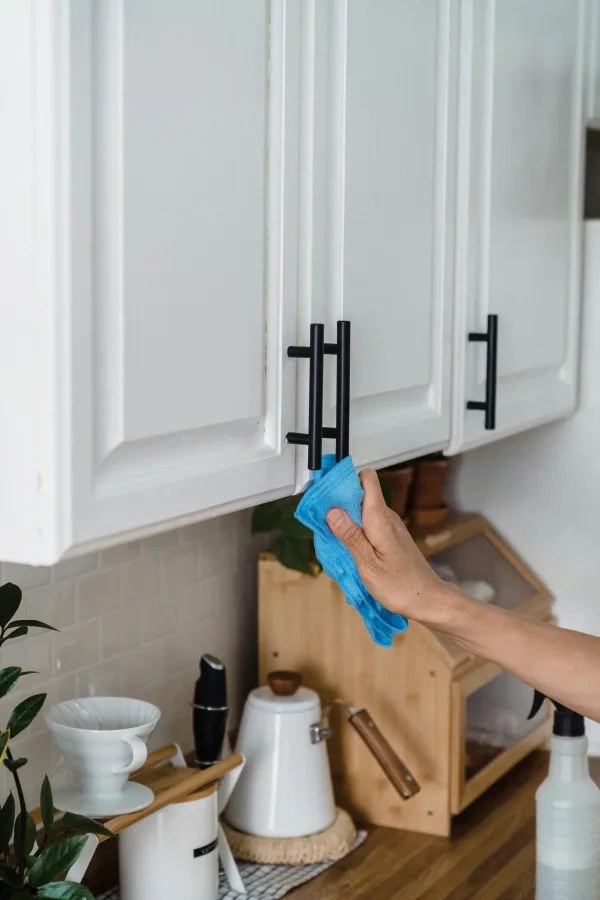
Wipe cabinet fronts from top to bottom, focusing on pulls, edges, and the doors nearest the range. Painted and wood finishes can be damaged by excess moisture or aggressive degreaser, so apply the approved product to the cloth rather than flooding the surface. Dry any seams where water could sit.
Clean the range hood’s exterior and control panel without spraying into openings. A removable grease filter may be washable, but check its manual first. If it can soak, place it in the basin now and let time do most of the work.
Minutes 25–40: appliances, backsplash, and counters
Wipe appliance handles and touch points first, then work across the microwave exterior, small appliances, and backsplash. Unplug a countertop appliance before cleaning around its base when the manufacturer directs it, and never immerse a powered appliance. Use the grain direction on stainless steel and avoid abrasive pads on glass or coated surfaces.
Return to the stovetop after the cleaner has had the required contact time. Lift loosened residue with a non-scratch tool approved for the surface, then wipe and dry. Move burner parts only when everything is cool and the manual says they are removable. Gas ports, igniters, and electrical connections should not be flooded.
Clean counters in sections so food-preparation space does not stay wet longer than necessary. Remove crumbs at seams and behind frequently used items, then clean and, if needed, disinfect according to the product label. Cleaning removes soil; disinfecting is a separate step that works only when the surface is already clean and stays visibly wet for the required time.
Minutes 40–50: reset the sink safely
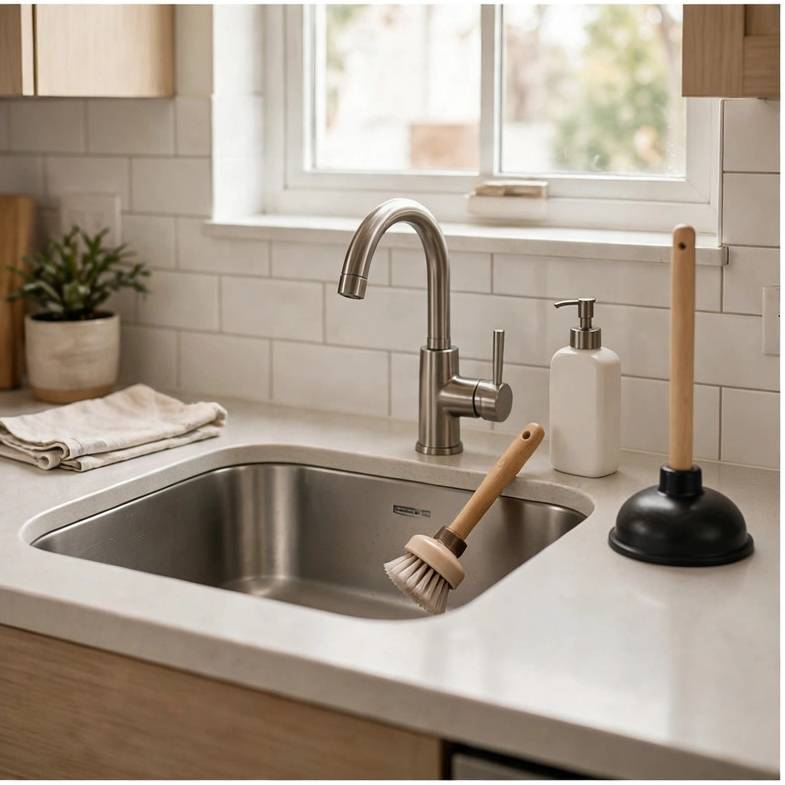
Move the soaking dishes or filter, rinse the basin, and clean the sink from rim to drain with a compatible product. Pay attention to the faucet base, handles, sprayer, strainer, and the seam where the sink meets the counter. A small brush helps around hardware, but avoid tools that scratch the finish.
Do not pour leftover cleaners together or send incompatible products down the drain. Dispose of them according to the label and local requirements. A slow or blocked drain is not a reason to combine chemical openers; stop and choose one approved method or call a plumber.
Rinse food-contact areas when required and dry the faucet to reduce water spots. Replace a sour-smelling sponge or sanitize it only with a method supported by its manufacturer. Put out a clean towel so the finished room feels reset rather than merely wiped.
Minutes 50–60: floor, trash, and final pass
Vacuum or sweep the perimeter, toe kicks, and space beneath movable stools before crossing the open floor. Pick up dry debris before mopping so it does not become paste. Use a floor cleaner approved for the material and the smallest amount of water that does the job, especially near wood, laminate, and cabinet bases.
Mop toward the exit and keep people off the damp area until it is safe. Take out the trash, wipe the bin lid if needed, return the few countertop items you use daily, and leave the basket of misplaced objects outside the kitchen for later. Wash your hands after handling cleaning products.
Keep the next reset shorter
Two minutes after cooking can prevent twenty minutes of hardened cleanup. Wipe fresh splashes when the surface is cool, run or unload the dishwasher on a regular cue, and give frequently used objects a fixed home. A tray under oils or coffee supplies lets you lift one group instead of cleaning around many small containers.
Keep the one-hour plan honest by rotating a single optional detail each week: one refrigerator shelf, one drawer, the oven interior, or the trash bin. Do not add all of them to the same session. The finish line is a clean, functional kitchen—not proof that every hidden surface was addressed.