How to Clean Your Dryer Vent (It's a Fire Safety Thing)
Cleaning the lint trap is not cleaning the dryer vent — and the vent is the part that matters for safety. The U.S. Fire Administration estimates about 2,900 home clothes-dryer fires are reported each year in the U.S., causing roughly 5 deaths, 100 injuries, and $35 million in property loss — with failure to clean the leading contributing factor in about one-third of these fires. Here is how to handle it.
The lint trap is only half the job
Your lint trap catches a lot, but far from all, of the lint each load produces. The rest travels into the vent duct — the flexible or rigid hose running from the back of your dryer to the outside of your home — and coats the inside with a layer of highly flammable fuzz. Over months and years, that layer narrows the duct, traps heat, and turns a routine dryer cycle into a genuine fire risk.
Most people never see inside their vent, so the buildup stays invisible until something goes wrong. That is why this is a maintenance task, not a when-it-smells-like-smoke task.
Warning signs your vent is clogged
Call it a clog and clean it if you notice any of these:
- Clothes need more than one full cycle to dry, or dry times have been creeping longer.
- The dryer feels hotter than usual on the outside during a cycle.
- You smell something burning or musty when the dryer runs.
- There is excess lint collecting behind or around the dryer.
- The exterior vent flap outside barely opens when the dryer is running, or you feel weak airflow there.
Even without symptoms, a vent that has never been cleaned is worth checking. If you just moved in, assume the previous owner never did it.
How to clean it yourself
This is a beginner-friendly job. You need a vacuum with a hose attachment and a dryer vent brush kit (a long flexible brush, sold at hardware stores for a few dollars). Plan for about 30 to 45 minutes.
- Cut the power — or the gas. Unplug an electric dryer. If you have a gas dryer, shut off the gas supply valve behind it. If you are not comfortable around the gas line, stop here and hire a pro — that is the right call.
- Pull the dryer out far enough to reach behind it, keeping the hose connected at first so you can see how it is routed.
- Detach the vent hose from the back of the dryer. It is usually held by a clamp you loosen with a screwdriver.
- Vacuum the hose and the dryer's exhaust port. Push the vacuum hose in as far as it reaches and pull out the packed lint.
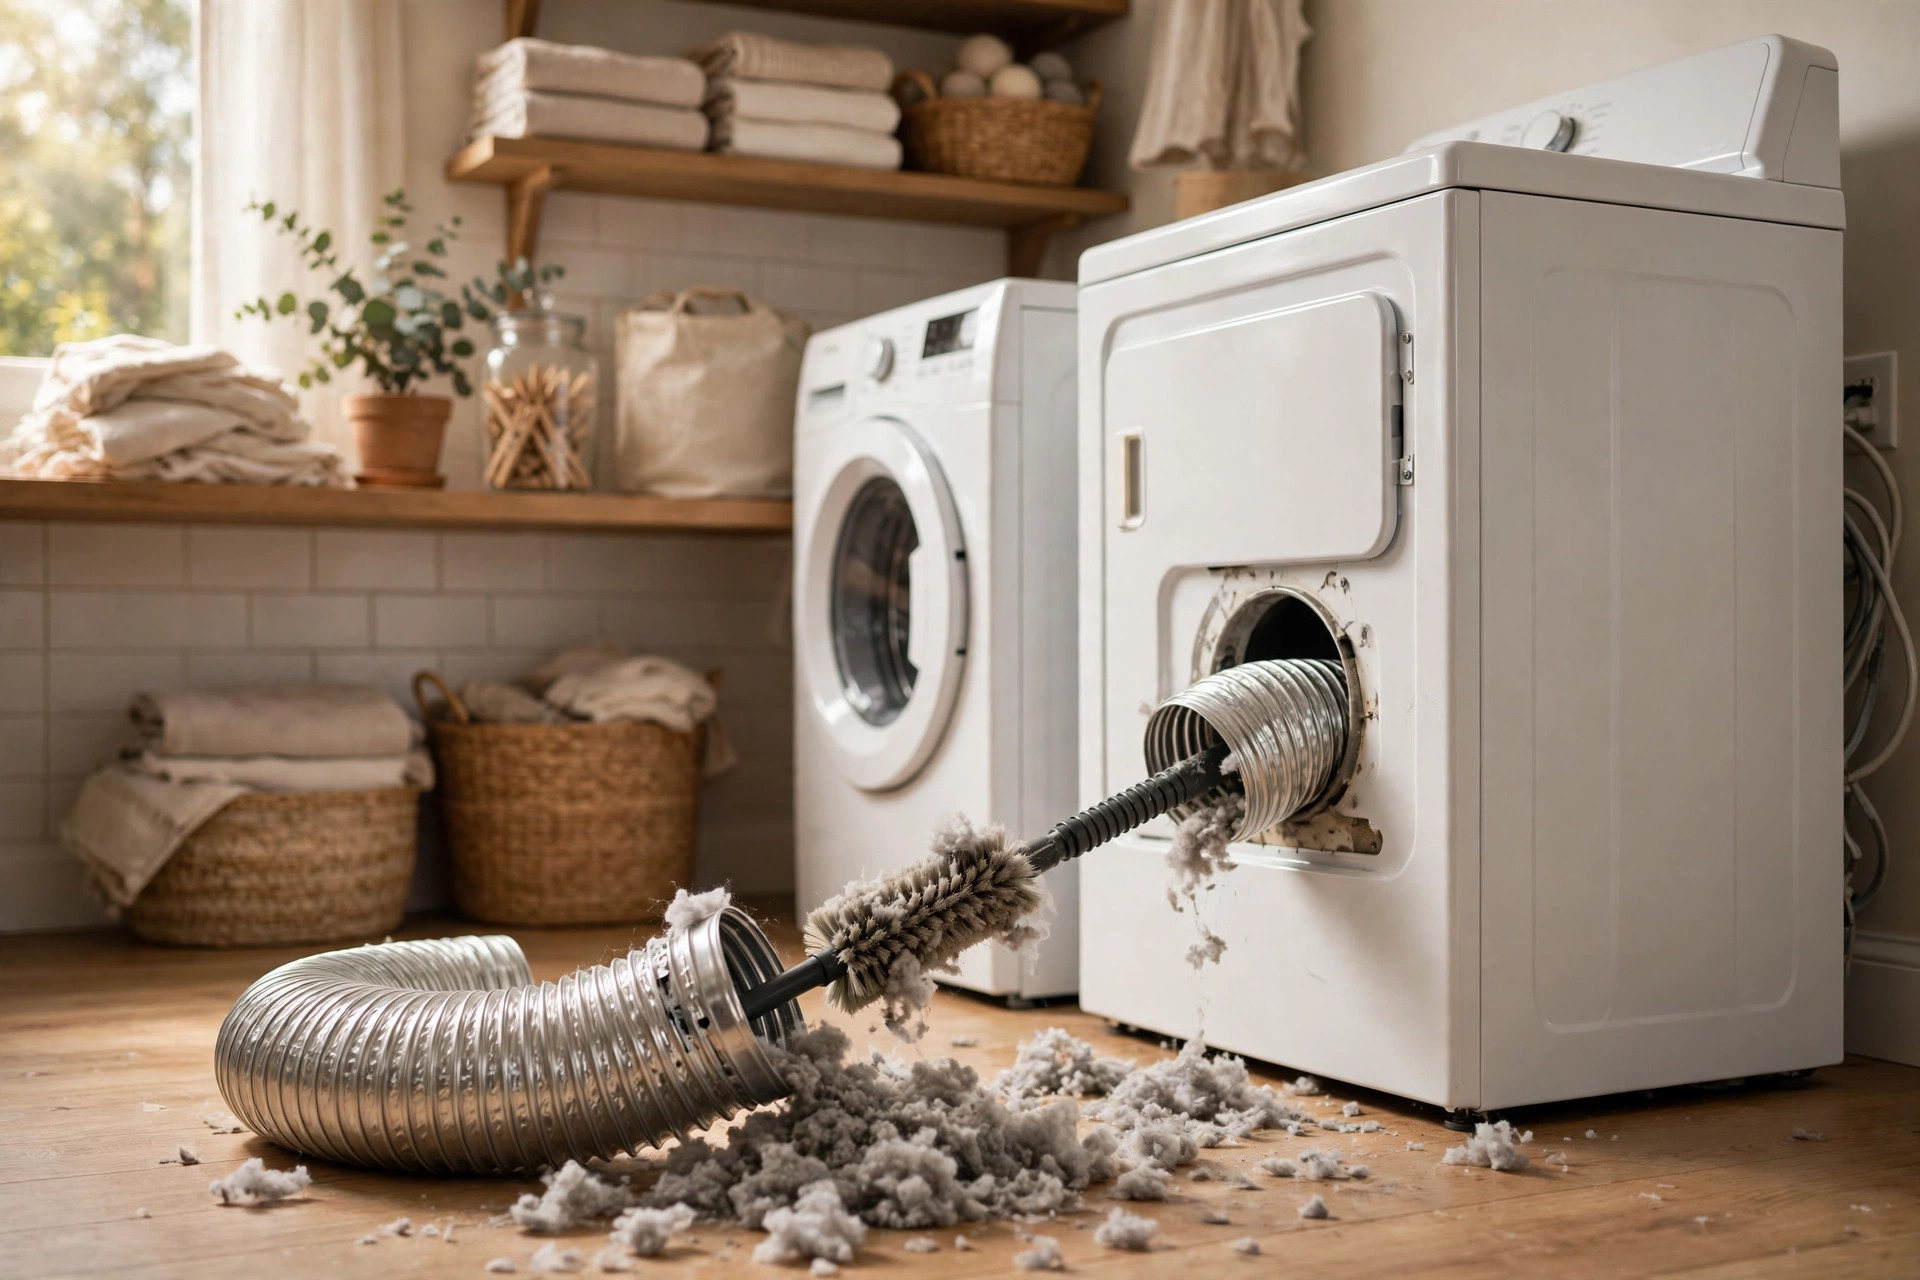
- Brush from the outside in. Go to the exterior vent opening on your house. Feed the vent brush in and work it through the duct toward the dryer, twisting as you go, pulling lint out in clumps. Keep going until the brush passes freely.
- Clean the exterior vent flap so it opens and closes freely — lint and debris jam these open, which also lets pests in.
- Reconnect everything, push the dryer back (do not crush or kink the hose — a crushed hose clogs again fast), and run an empty cycle to check strong airflow at the outside vent. While you are back there, look at what kind of duct you have: smooth rigid metal duct clogs far less than flexible foil or plastic accordion duct, whose ridges trap lint. If yours is the flimsy white plastic kind, consider replacing that section with metal — it is one of the highest-value safety upgrades in a laundry room. to check strong airflow at the outside vent.
How often to do this
Clean the lint trap every single load — no exceptions. It takes five seconds and it is your first line of defense.
Deep-clean the vent duct at least once a year. If your household runs the dryer constantly, do it more often. Tie it to something you will not forget: the start of a season, a birthday, daylight saving time. And peek at the exterior vent flap a few times a year — if it is barely opening during a cycle, clean the duct early.
When to hire a pro
DIY covers most dryers, but some setups call for professional equipment:
- Long vent runs: if the duct travels a long way through walls or between floors, a consumer brush cannot reach the whole length.
- Roof vents: if your vent exits through the roof, getting up there safely is a job for someone with the right ladder and experience.
- Gas dryer and you are not comfortable: a pro handles the gas disconnect and reconnect in minutes.
- Crushed or damaged duct: flexible foil ducts that are crushed, torn, or sagging should be replaced — ideally with rigid metal duct, which clogs far less — and a pro can run a clean new line.
Professional vent cleaning is a quick service visit, and against the cost of a dryer fire — or even just a dryer working twice as hard on every load — it is money well spent.
A note for renters
If you rent, the vent system usually belongs to the landlord — but the lint trap is yours to clean every load regardless. You can still check the warning signs above and look at the exterior vent flap, since it is on the outside of the building. If you suspect a clog, put the request in writing to your landlord or property manager: describe the symptoms (longer dry times, weak airflow at the vent), ask for a vent cleaning, and keep a copy of the message. A written request creates a record; a verbal mention does not.
When in doubt, call a licensed professional — some jobs are not worth the risk.